Create a smart account and add licenses
Create a Smart Account to centrally manage and track your Cisco software licenses across your organization.
You should set up this account before you purchase licenses. Your account representative or reseller may have set up a Smart Account on your behalf. If so, obtain the necessary information to access the account from that person instead of using this procedure, then verify that you can access the account.
Before you begin
You must create a new Cisco account if you don't already have one. For instructions, refer to Create a Cisco Account.
For general information about Smart Accounts, refer to http://www.cisco.com/go/smartaccounts.
Procedure
Step 1 | Go to the Create a Smart Account page. You are prompted to log in with your Cisco account. In the Create a Smart Account page, your basic account information is displayed. |
Step 2 | Click the My Account icon appearing in the top right corner and click Manage Profile. 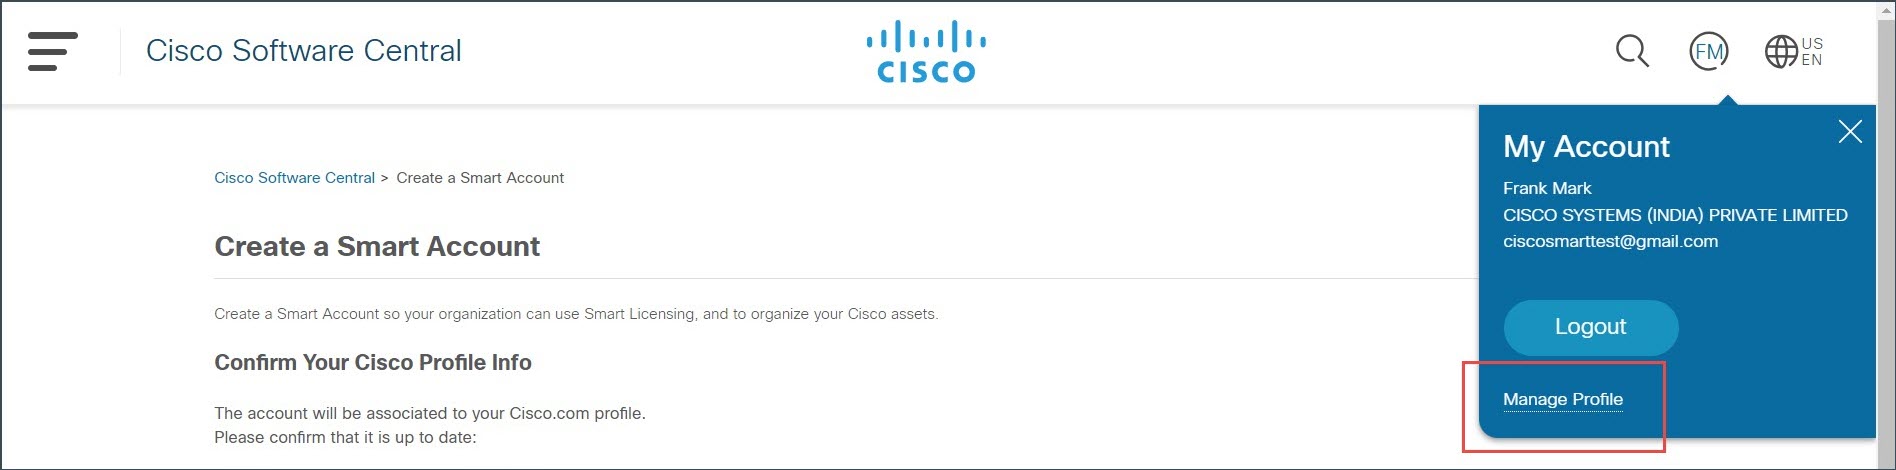
|
Step 3 | Click Personal and configure these parameters: |
Step 4 | Click Update. A success message appears if your company details are validated. |
Step 5 | Open the Create a Smart Account page, which was opened in the previous tab. Refresh the page if changes are not reflecting. Alternatively, you can open this page using the https://software.cisco.com/software/company/smartaccounts/home?route=module/accountcreation URL and login using your credentials. |
Step 6 | Click Create Account. The Account Summary page displays your account details. |
Step 7 | Click Done. |
Step 8 | Wait for an email telling you that your Smart Account is ready to set up. When it arrives, click the link it contains, as directed. |
Step 9 | Make sure your Smart Licensing account contains the available licenses you need. |
What to do next
To configure Smart License using the Smart Software Manager, refer to Configure Smart Licensing.