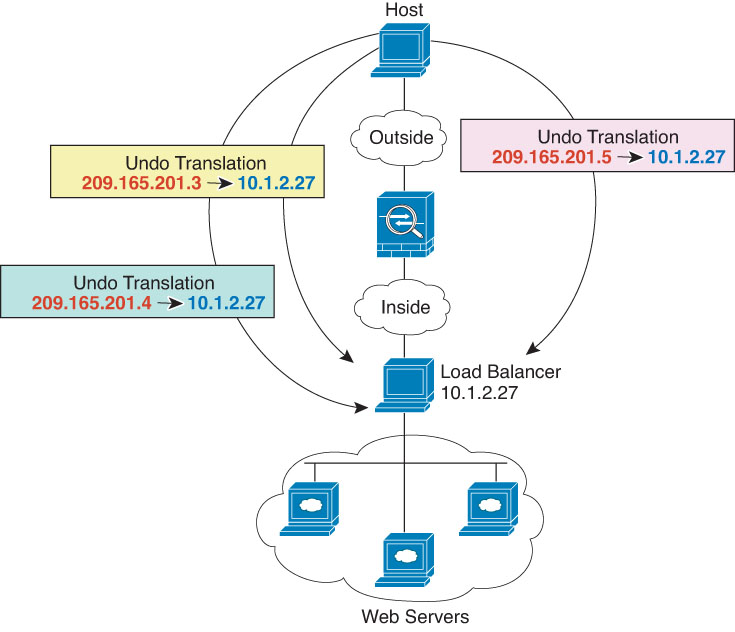
Inside load balancer with multiple mapped addresses (static auto NAT, one-to-many)
The following example shows an inside load balancer that is translated to multiple IP addresses. When an outside host accesses one of the mapped IP addresses, it is untranslated to the single load balancer address. Depending on the URL requested, it redirects traffic to the correct web server.
Before you begin
Ensure that you have interface objects (security zones or interface groups) that contain the interfaces for the device that protects the web server. In this example, we will assume the interface objects are security zones named inside and outside. To configure interface objects, select .
Procedure
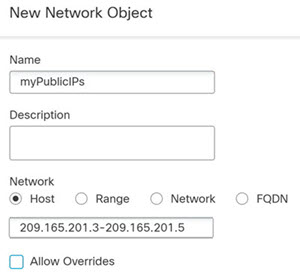
Step 1 | Create a network object for the addresses to which you want to map the load balancer.
|
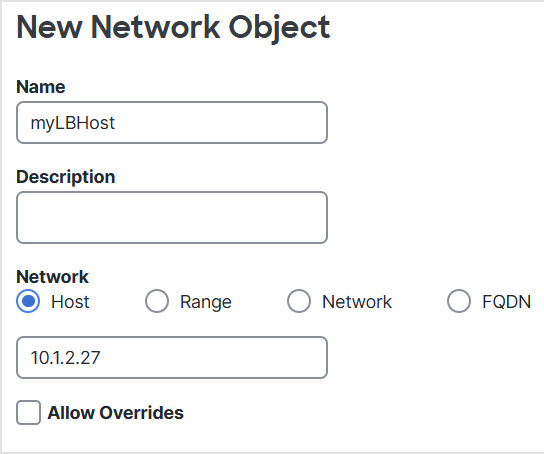
Step 2 | Create a network object for the load balancer.
|
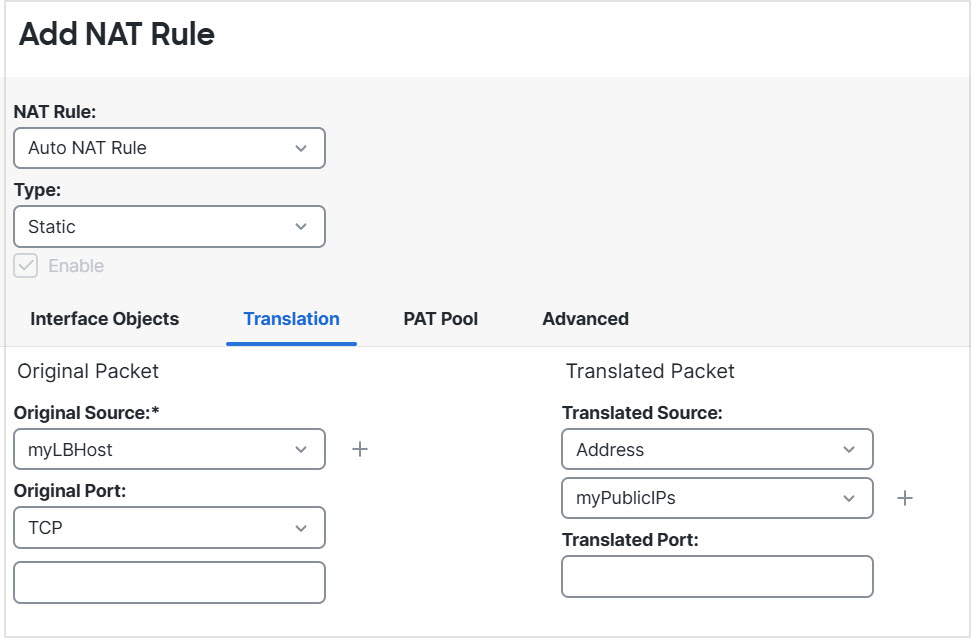
Step 3 | Configure static NAT for the load balancer.
|
Step 4 | Click Save on the NAT rule page. |