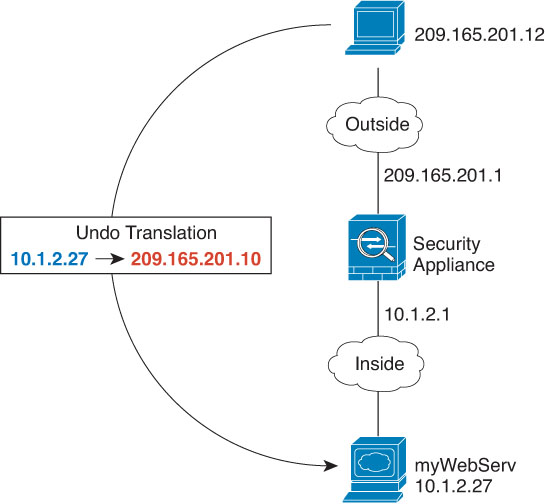
Providing access to an inside web server (static auto NAT)
The following example performs static NAT for an inside web server. The real address is on a private network, so a public address is required. Static NAT is necessary so hosts can initiate traffic to the web server at a fixed address.
Before you begin
Ensure that you have interface objects (security zones or interface groups) that contain the interfaces for the device that protects the web server. In this example, we will assume the interface objects are security zones named inside and outside. To configure interface objects, select .
Procedure
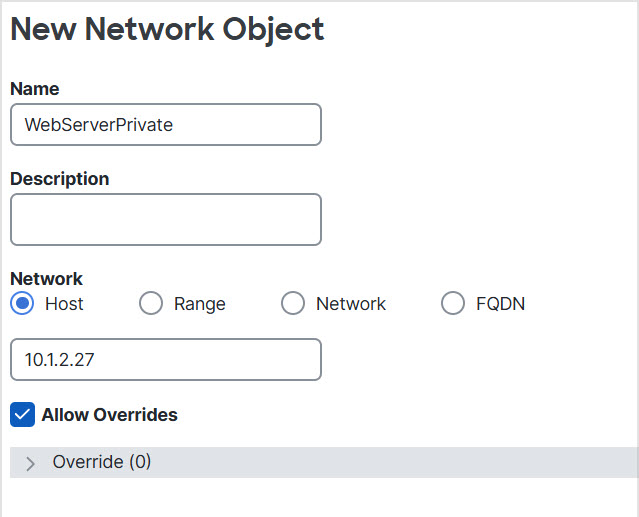
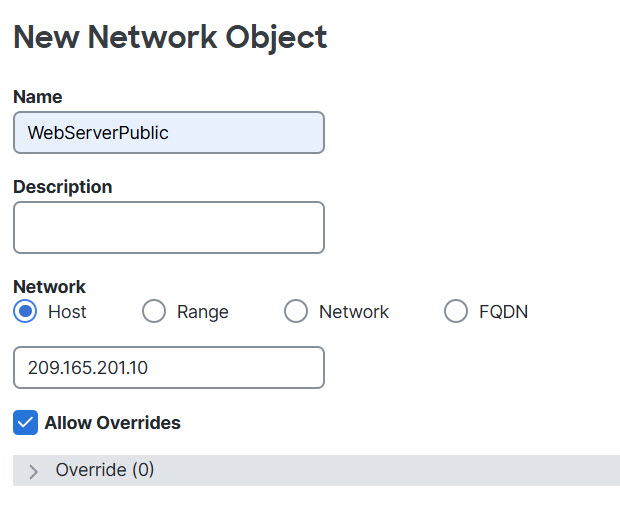
Step 1 | Create the network objects that define the server’s private and public host addresses.
|
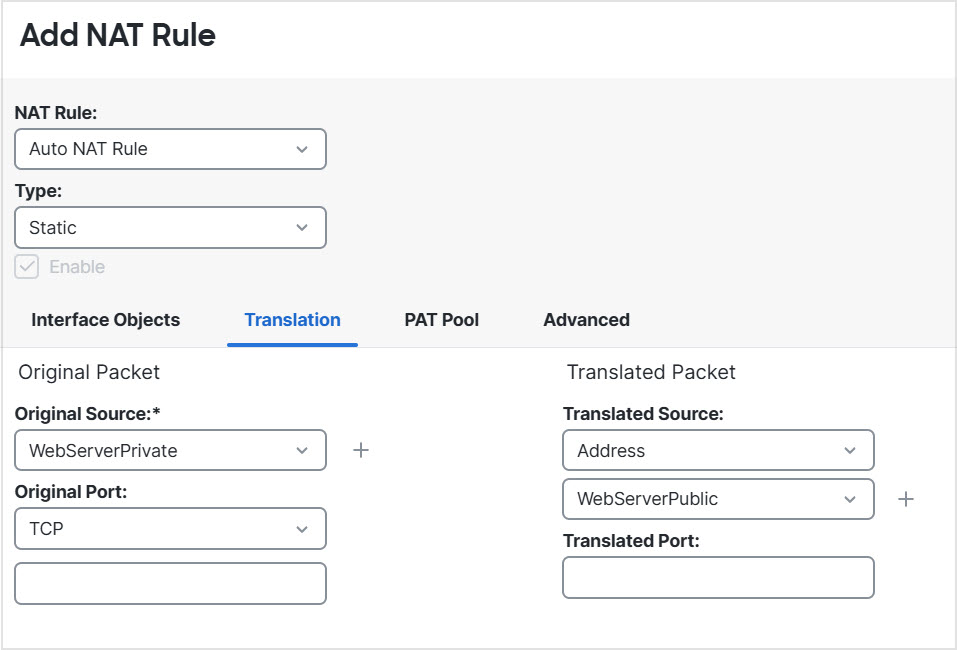
Step 2 | Configure static NAT for the object.
|
Step 3 | Click Save on the NAT rule page. |