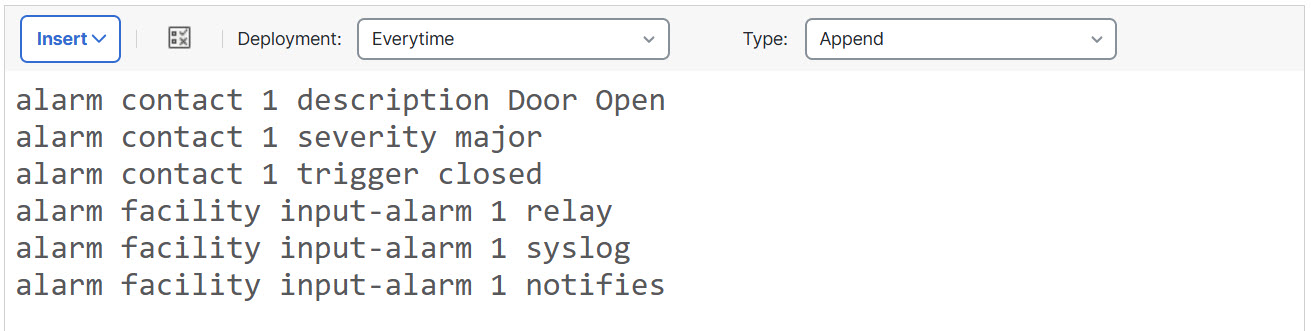
Configure alarm input contacts
If you connect the alarm input contacts (interfaces) to external sensors, you can configure the contacts to issue alarms based on the input from the sensor. In fact, the contacts are enabled by default to send syslog messages if the contact is closed, that is, if the electrical current stops flowing through the contact. You need to configure the contact only if the defaults do not meet your requirements.
The alarm contacts are numbered 1 and 2, so you need to understand how you have wired the physical pins to configure the correct settings. You configure the contacts separately.
Procedure
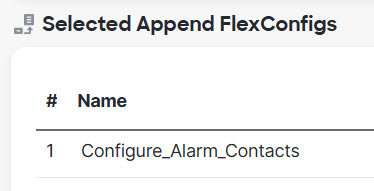
Step 1 | Create the FlexConfig object to configure the alarm input contacts.
|
Step 2 | Create the FlexConfig policy and assign it to the devices.
|
Step 3 | Deploy your changes. Because you assigned a FlexConfig policy to the devices, you will always get a deployment warning, which is meant to caution you about the use of FlexConfig. Click Proceed to continue with the deployment. After the deployment completes, you can check the deployment history and view the transcript for the deployment. This is especially valuable if the deployment fails. See Verify the deployed configuration. |