Remove the Network Module
If you want to permanently remove the network module, follow these steps. Removing a network module requires a reboot.
For clustering or High Availability, you can only perform chassis operations on the control node/active unit.
Before you begin
For clustering or High Availability, make sure the cluster/failover link is not on the network module.
Procedure
Step 1 | From , click Manage in the Chassis column. For clustering or High Availability, this option is only available for the control node/active unit; network module changes are replicated to all nodes. 
The Chassis Operations page opens for the device. This page shows physical interface details for the device. |
Step 2 | On the interfaces graphic, click the slider ( 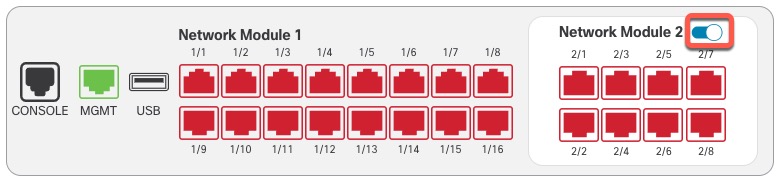
|
Step 3 | You are prompted to confirm that you want to turn the network module off. Click Yes. 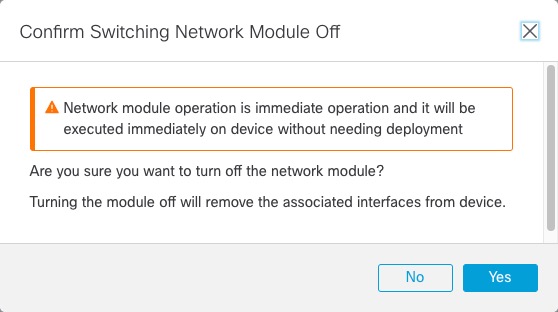
|
Step 4 | You see a message at the top of the screen; click the link to go to the Interfaces page to save the interface changes. 
|
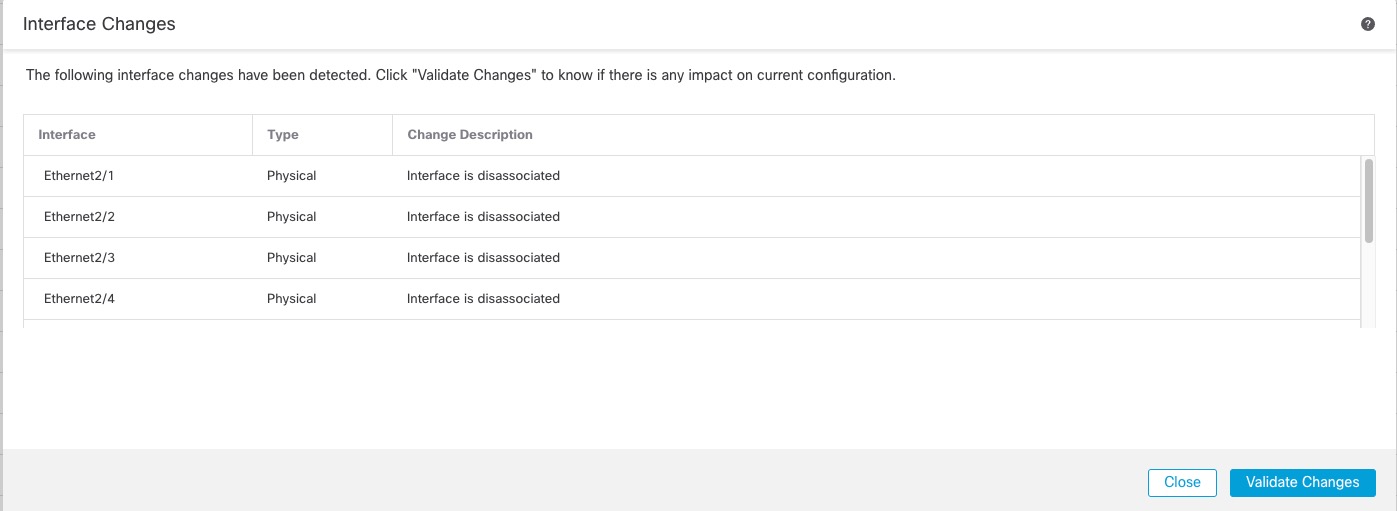
Step 5 | At the top of the Interfaces page, you see a message that the interface configuration has changed. 
|
Step 6 | Click Save to save the interface changes to the firewall. |
Step 7 | If you had to change any configuration, go to and deploy the policy. |
Step 8 | Reboot the firewall; see Shut down or restart the device. For clustering or High Availability, reboot the data nodes/standby unit first, and wait for them to come back up. Then you can change the control node or active unit (see Switch the Active Peer in the Firewall Threat Defense High Availability Pair), and reboot the former control node/active unit. |