NTP is used to implement a hierarchical system of servers that provide a precisely
synchronized time among network systems. This kind of accuracy is required for
time-sensitive operations, such as validating CRLs, which include a precise time
stamp. You can configure up to four NTP servers.
Note
FXOS uses NTP version 3.
If the stratum value of an external NTP server is 13 or greater, the
application instance cannot sync to the NTP server on the FXOS chassis.
Each time a NTP client syncs to a NTP server, the stratum value
increases by one.
If you have set up your own NTP server, you can find its stratum value in
the /etc/ntp.conf file on the server. If the NTP server has stratum
value of 13 or greater you can either change the stratum value in the
ntp.conf file and restart the server, or use a different NTP server (for
example: pool.ntp.org).
Before you begin
If you use a hostname for the NTP server, you must configure a DNS server. See Configure DNS.
Procedure
Step 1
Choose Devices > Platform Settings and create or edit the chassis policy.
Step 2
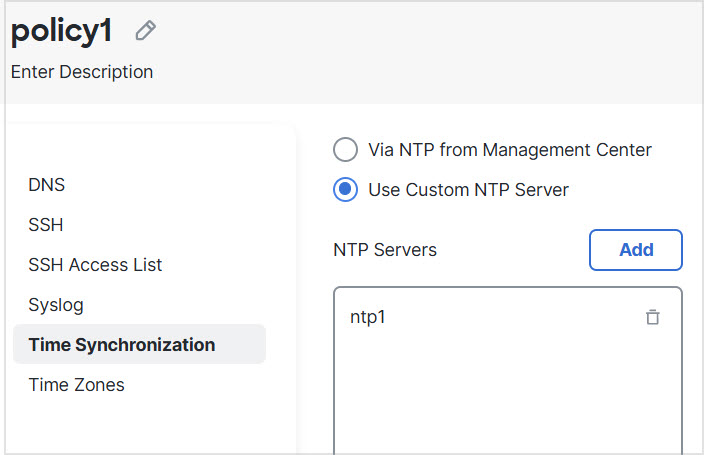
Choose Time Synchronization.
Time Synchronization
Step 3
If you want to obtain the time from the Cloud-Delivered
Firewall Management Center, click Via NTP from Management Center.
This option ensures both the chassis and the Cloud-Delivered
Firewall Management Center have the same time.
Step 4
To use an external NTP server, click Use Custom NTP
Server.
Click Add to add a server.
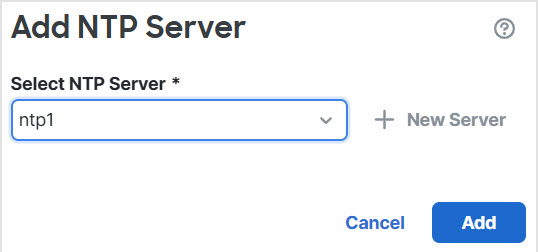
Add NTP Server
Choose any already-defined servers from the drop-down menu and click
Add, or click New Server to add a new server.
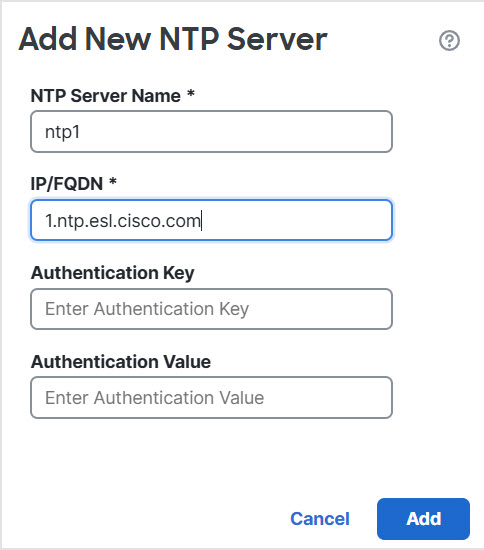
Add New NTP Server
For a new server, enter the following fields, and click
Add.
NTP Server Name—A name to identify
this server.
IP/FQDN—The IP address or hostname of
the server.
Authentication Key and
Authentication Value—Obtain the
key ID and value from the NTP server. For example, to
generate the SHA1 key on NTP server Version 4.2.8p8 or later
with OpenSSL installed, enter the
ntp-keygen-M command, and then view the key ID and value in the
ntp.keys file. The key is used to tell both the client and
server which value to use when computing the message
digest.
Only SHA1 is supported for NTP server authentication.