Install a Security Cloud Control Connector, to Support a Secure Event Connector, Using a Security Cloud Control VM Image
Before you begin
-
Purchase the Cisco Security and Analytics Logging license.
If you would rather, you can request a trial version of Security Analytics and Logging by logging in to Security Cloud Control, and on the main navigation bar, choose and click Request Trial.
-
Security Cloud Control requires strict certificate checking and does not support Web/Content Proxy inspection between the Security Cloud Control Connector and the Internet. If using a proxy server, disable inspection for traffic between the Security Cloud Control Connector and Security Cloud Control.
-
The Security Cloud Control Connector installed in this process must have full outbound access to the Internet on TCP port 443.
-
Review Connect to Security Cloud Control using Secure Device Connector to ensure proper network access for the Security Cloud Control Connector.
-
Security Cloud Control supports installing its Security Cloud Control Connector VM OVF image using the vSphere web client or the ESXi web client.
-
Security Cloud Control does not support installing the Security Cloud Control Connector VM OVF image using the VM vSphere desktop client.
-
ESXi 5.1 hypervisor.
-
System requirements for a VM intended to host only a Security Cloud Control Connector and an SEC:
-
VMware ESXi host needs 4 vCPU.
-
VMware ESXi host needs a minimum of 8 GB of memory.
-
VMware ESXi requires 64GB disk space to support the virtual machine depending on your provisioning choice.
-
-
Gather this information before you begin the installation:
-
Static IP address you want to use for your Security Cloud Control Connector VM.
-
Passwords for the root and Security Cloud Control users that you create during the installation process.
-
The IP address of the DNS server your organization uses.
-
The gateway IP address of the network the SDC address is on.
-
The FQDN or IP address of your time server.
-
-
The Security Cloud Control Connector virtual machine is configured to install security patches on a regular basis and in order to do this, opening port 80 outbound is required.
Procedure
Step 1 | Log on to the Security Cloud Control tenant you are creating the Security Cloud Control Connector for. | ||
Step 2 | In the left pane, click . | ||
Step 3 | Click the | ||
Step 4 | In Step 1, click Download the Security Cloud Control Connector VM image. This is a special image that you install the SEC on. Always download the Security Cloud Control Connector VM to ensure that you are using the latest image. 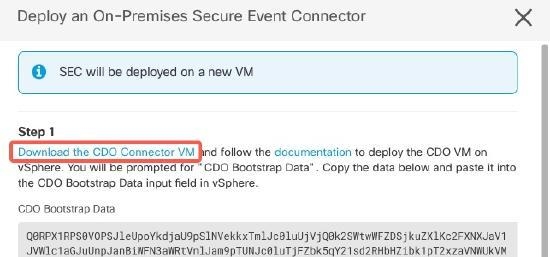 | ||
Step 5 | Extract all the files from the .zip file. They will look similar to these:
| ||
Step 6 | Log on to your VMware server as an administrator using the vSphere Web Client.
| ||
Step 7 | Deploy the on-premises Security Cloud Control Connector virtual machine from the OVF template by following the prompts. (You will need the .ovf, .mf, and .vdk files to deploy the template.) | ||
Step 8 | When the setup is complete, power on the VM. | ||
Step 9 | Open the console for your new Security Cloud Control Connector VM. | ||
Step 10 | Login as the Security Cloud Control user. The default password is | ||
Step 11 | At the prompt type | ||
Step 12 | When prompted, enter the default password for the Security Cloud Control user: | ||
Step 13 | Follow the prompts to create a new password for the root user. | ||
Step 14 | Follow the prompts to create a new password for the Security Cloud Control user. | ||
Step 15 | Follow the prompts to enter your Security Cloud Control domain information. | ||
Step 16 | Enter the static IP address you want to use for the Security Cloud Control Connector VM. | ||
Step 17 | Enter the gateway IP address for the network on which the Security Cloud Control Connector VM is installed. | ||
Step 18 | Enter the NTP server address or FQDN for the Security Cloud Control Connector. | ||
Step 19 | When prompted, enter the information for the Docker bridge or leave it blank if it is not applicable and press <Enter>. | ||
Step 20 | Confirm your entries. | ||
Step 21 | When prompted "Would you like to setup the SDC now?" enter n. | ||
Step 22 | Create an SSH connection to the Security Cloud Control Connector by logging in as the Security Cloud Control user. | ||
Step 23 | At the prompt type | ||
Step 24 | When prompted, enter the Security Cloud Control user's password. | ||
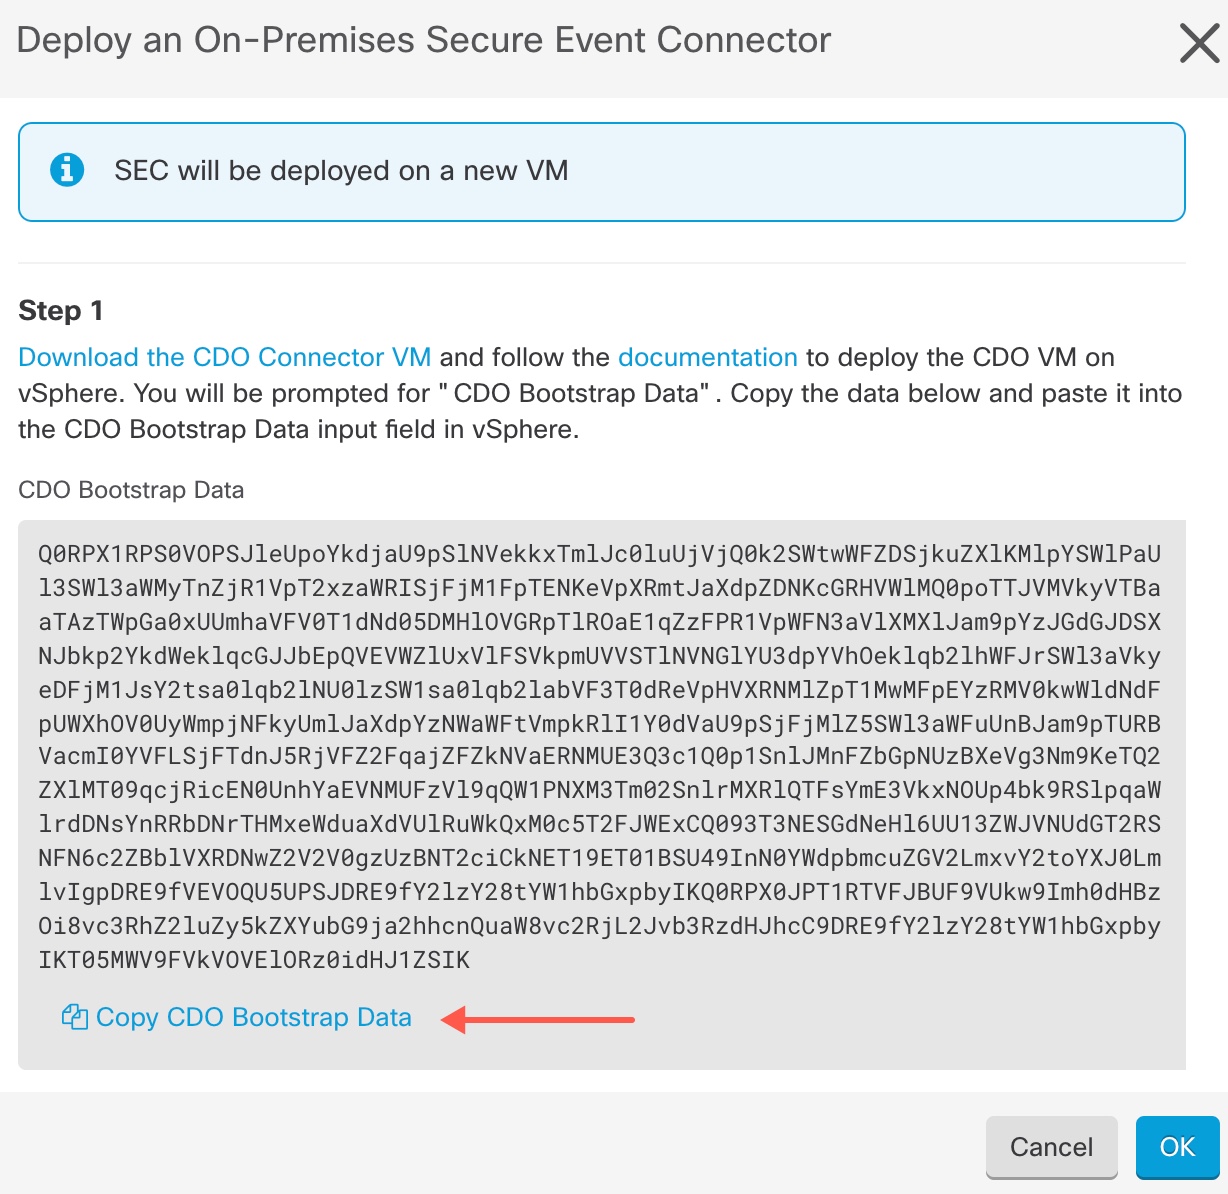
Step 25 | When prompted, return to Security Cloud Control and copy the Security Cloud Control bootstrap data, then paste it into your SSH session. To copy the Security Cloud Control bootstrap data:
| ||
Step 26 | When prompted, Would you like to update these settings? enter n. | ||
Step 27 | Return to the Deploy an On-Premises Secure Event Connector dialog in Security Cloud Control and click OK. In the Secure Connectors page, you will see your Secure Event Connector is in the yellow Onboarding state. |